Granite: Simplicity and Durability
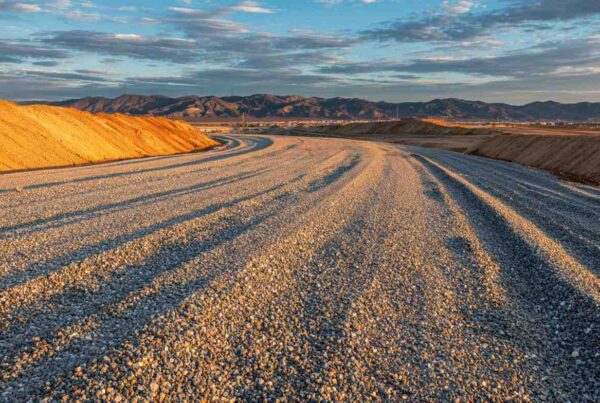
If simplicity, usability, durability, and longevity are important to you in your outdoor landscaping, then a crushed granite pathway should be the top of your list for path or patio creation.
Cost-effective yet highly-durable path, crushed granite comes in various colors, enabling you to match your path to your landscaping. It can be used for driveways, garden beds, and is popular for bocce ball courts.
That said, the great news for do-it-yourselfers is it can be done by yourself. Here is a quick guide on installing a crushed granite path.
Step-by-Step Process: Install a Crushed Granite Path
Installing this type of path is a 6-step process, as we’ll see below:
Step #1: Create an Outline of Your Pathway
Whether you want a winding or straight crushed granite-filled pathway, the first thing you need to do is map it out. Use spray paint or chalk dust to create line markings along the path on either side of the walkway.
Ensure your path is at least 3 feet wide to ease traffic.
Step #2: Dig Out the Path Within the Outline
Digging the path ensures the granite starts below ground level for approximately 3 inches for better compacting. Otherwise, laying granite on ground level makes it prone to more movement, potentially damaging the pathway.
Step #3:Install a Weed Barrier
Also known as landscape fabric, this material prevents the growth of weeds under your walkway, which ensures the path lasts longer. Weeds, as any construction manager will tell you, can cause havoc on any construction project.
Step #4: Add a Layer of Sand over the Fabric
Crushed aggregate is a loose product that shifts easily. To increase the longevity of your walkway, you must prevent the granite from moving excessively. Adding a layer of sand over the landscape fabric and dampening it with water helps create a bed to stabilize the granite.
Step #5: Install Wooden or Plastic Edging Along the Path’s Sides
While digging a few inches within the path’s edges creates a barrier for the granite, chances are your pathway will rise above ground level. Installing edging, also known as header boards, ensures the granite above ground level doesn’t shift out of the path.
We advise anchoring the edging with stakes approximately every four feet to improve its strength.
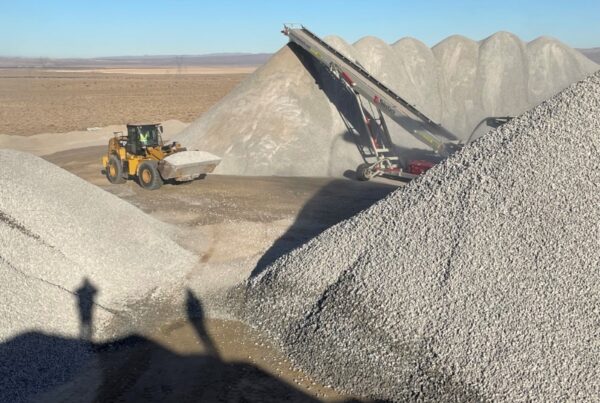
Step #6: Add Your Crushed Granite
Once all the steps above are complete, it’s time to add your crushed granite along the path. If you have a roller or compactor, run it over the path several times to ensure it’s tightly packed.
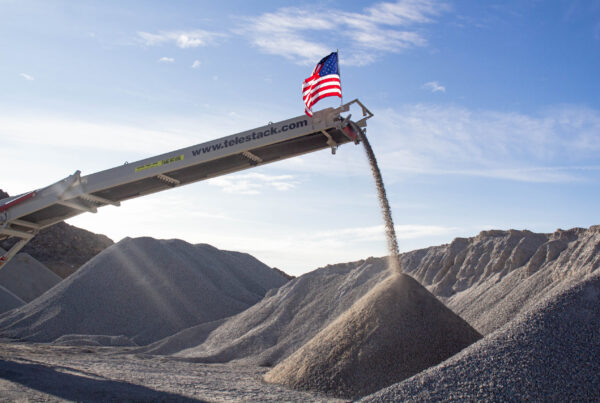
If you need granite quarry products in Southern California, we provide a wide variety for individuals as well as construction companies.